Yes, targeted stretches paired with posterior-chain strengthening, done consistently through a phased corrective sequence, reduce upper cross syndrome posture and symptoms for many people. The core routine: inhibit tight muscles with self-massage, lengthen them with static stretches, then activate and integrate the weak ones with rows and chin tucks. Expect motor-control gains within weeks; visible posture change takes longer. Sharp or radiating pain means stop and see a professional.
TL;DR:
- Consistent inhibition with self-massage and stretching, combined with activation of weak muscles through controlled exercises, is essential for correcting upper cross syndrome.
- Performing exercises in the correct order— inhibit, lengthen, activate, then integrate— ensures overactive muscles don’t inhibit their weak counterparts.
- Small adjustments in exercise form and daily cues, like filming your rows or raising your screen, significantly improve results and help prevent setbacks.
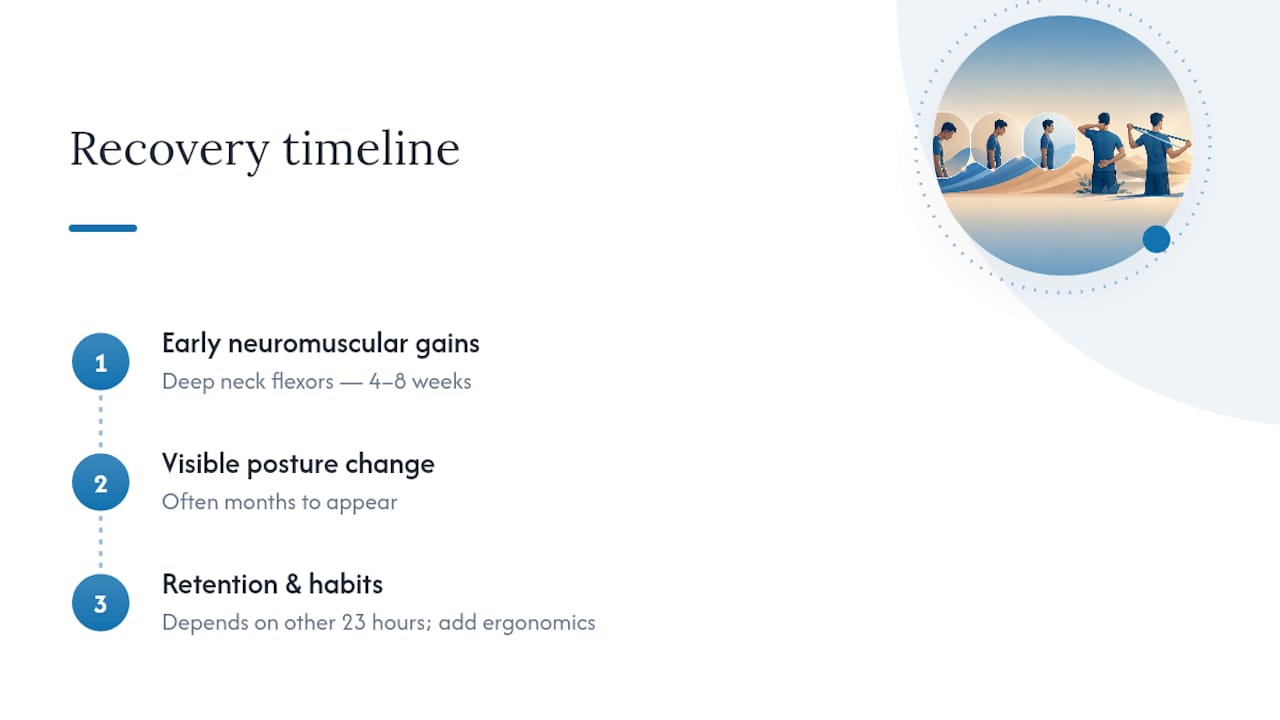
- Recovery typically shows improvements in deep neck flexor strength within four to eight weeks, but visual posture changes take months without ergonomic and behavioral support.
- Simple tools like resistance bands, massage devices, and posture braces support adherence but do not replace the core exercise and behavioral modifications.
Table of Contents
- A 15-Minute Upper Cross Syndrome Exercise Routine You Can Start Today
- The Four-Phase Sequence Behind Every Good Corrective Routine
- Getting the Details Right on Each Corrective Exercise
- Mobility and Yoga Moves That Support the Routine
- Checking Your Posture and Knowing When to See Someone
- What the Research Actually Shows About Recovery Timelines
- Why Most Corrective Programs Fail Before They Start Working
- Tools That Support Your Home Corrective Routine
- Sources
A 15-Minute Upper Cross Syndrome Exercise Routine You Can Start Today
Forward head and rounded shoulders don’t fix themselves, but you don’t need an hour at a gym to start reversing them. This sequence takes about 15 minutes and hits every muscle group involved in upper cross syndrome.
Start with a 4-minute dynamic warm-up like cat-cow flows to get blood moving through the spine and shoulders before you stretch anything cold. Then work through this order:
- Doorway pec stretch. Hold the stretch for a moderate duration and repeat it several times per side.
- Levator scapulae or upper trap stretch. Hold 20 to 30 seconds, 2 times per side.
- Chin tucks (craniocervical flexion). 1 to 3 sets of 10 to 15 reps.
- Band rows or standing rows. 2 to 3 sets of 10 to 15 reps.
- Prone Ys or scapular squeezes. 1 to 2 sets of 10 to 15 reps.
That’s the whole postural corrective exercise framework used in rehab settings, condensed into a routine you can do on a bedroom floor with a resistance band and a doorway.
Pro Tip: Do the chin tucks in front of a mirror the first week. Most people jam their chin down instead of gliding it straight back, and that small correction is the difference between activating your deep neck flexors and just nodding.
Stop immediately if you feel sharp, shooting, or radiating pain down an arm. Muscle soreness the next day is normal. Nerve-type pain is not, and it’s a signal to see a professional before continuing.
The Four-Phase Sequence Behind Every Good Corrective Routine
Random stretching and random strengthening rarely fix upper cross syndrome. Order matters, and the NASM corrective exercise continuum gives you a logical sequence instead of a grab bag of exercises.
- Inhibit: Use a lacrosse ball or foam roller on tight pecs, upper traps, and levator scapulae. Hold 30 seconds on tender spots. This calms overactive tissue before you try to stretch it.
- Lengthen: Static stretch the same muscles for 20 to 30 seconds, repeated 2 to 3 times, once tissue tone has dropped.
- Activate: Strengthen the muscles that went quiet from disuse, mainly deep neck flexors and mid-back muscles, with 1 to 3 sets of 10 to 15 reps at a slow, controlled tempo.
- Integrate: Combine the activated muscles into multi-joint, functional movement, like a loaded carry or a standing row with a weight shift, so the correction holds up outside a workout.
Why this order and not strength first? Tight, overactive muscles inhibit their opposing weak muscles through reciprocal inhibition. Skip the inhibit and lengthen phases and your rows fight upper traps that are still locked short, so the wrong muscles do the work. A simple weekly split might look like inhibit and lengthen daily, activate work three times a week, and one integrated session that strings everything together into a real movement pattern.
Getting the Details Right on Each Corrective Exercise
Form separates exercises that fix upper cross syndrome from exercises that just feel like stretching. A few specifics make a real difference.
- Doorway pec stretch: Place your forearm on the door frame at shoulder height, elbow bent 90 degrees, then rotate your torso away until you feel a stretch across the chest, not in the front of the shoulder joint. Adjust arm height to shift the stretch between upper and lower pec fibers.
- Levator and SCM release: Tilt your ear toward the opposite shoulder, then rotate your chin slightly toward the stretching side for the levator, or away from it to target the sternocleidomastoid. Small angle changes, big difference in what you’re actually stretching.
- Chin tucks: Picture sliding your head straight back on a shelf, not tipping it down. Ten to 15 slow reps, and you’ll feel the front of your neck working within the first set.
- Rows and face pulls: Pull your shoulder blades down and back before your elbows bend, and stop the instant your shoulders creep toward your ears, that’s upper-trap compensation stealing the work from your mid-back. Slow, controlled reps with lighter resistance beat fast reps with heavy resistance every time here.
- Prone Ys and scapular squeezes: Lie face down, lift your arms into a Y shape, squeeze your shoulder blades together, and hold for a full breath before lowering.
No gym required. A resistance band anchored to a door handle covers rows and face pulls, and wall angels or seated rows work as regressions for anyone who finds the standing versions too advanced early on.
Pro Tip: Film yourself from the side during rows. Most people can’t feel shoulder-shrug creeping in, but you’ll spot it instantly on video.
Mobility and Yoga Moves That Support the Routine
Strength and stretching do the heavy lifting, but a few mobility drills keep your thoracic spine and neck moving well enough that the corrective work actually holds.
- Cat-cow (standing or on hands and knees): Mobilizes the whole spine and warms up thoracic extension.
- Thread-the-needle: Rotates through the mid-back, an area that stiffens fast with a desk job.
- Sphinx or gentle cobra pose: Builds thoracic extension without cranking your neck backward; keep your gaze low, not skyward.
- Wall angels: Sliding your arms up and down a wall builds scapular control and doubles as a posture check.
Three to five sessions a week as an add-on to your main routine is plenty. These aren’t a replacement for strengthening, they’re what keeps the joints mobile enough for the strengthening to work.
Checking Your Posture and Knowing When to See Someone
A rough self-check: stand with your heels, hips, and shoulder blades against a wall. If the back of your head won’t touch without straining, forward head posture is likely part of your picture. From the side, look for your ear sitting noticeably in front of your shoulder in a mirror or photo.
- Red flags that need professional review: numbness or tingling down an arm, progressive weakness, dizziness with neck movement, or pain that’s severe and doesn’t ease with rest.
- When to bring in help: a physical therapist, chiropractor, or physician can add manual therapy or muscle energy techniques that speed up what home exercise alone does slowly.
- Adapting for arthritis or a flare-up: shorten your range of motion, drop the hold times, and favor isometric holds over full-range reps until pain settles.
The Cleveland Clinic’s posture exercise guide covers safe regressions if you’re working around an existing injury.
What the Research Actually Shows About Recovery Timelines
A systematic review of 11 studies on upper cross syndrome found that exercise-based programs improved posture measures and neck disability scores, though the studies were small and used different protocols, so the results are a solid but not definitive signal.
What that means for your timeline: deep neck flexor activation and basic strength gains typically show up in 4 to 8 weeks of consistent work. Visible changes in how you actually stand or sit take longer, often months, and depend heavily on what you do the other 23 hours of the day. Exercise alone, without addressing screen height and sitting habits, tends to plateau. Pairing the routine with ergonomic adjustments is what makes gains stick rather than slide back within a month of stopping.
Why Most Corrective Programs Fail Before They Start Working
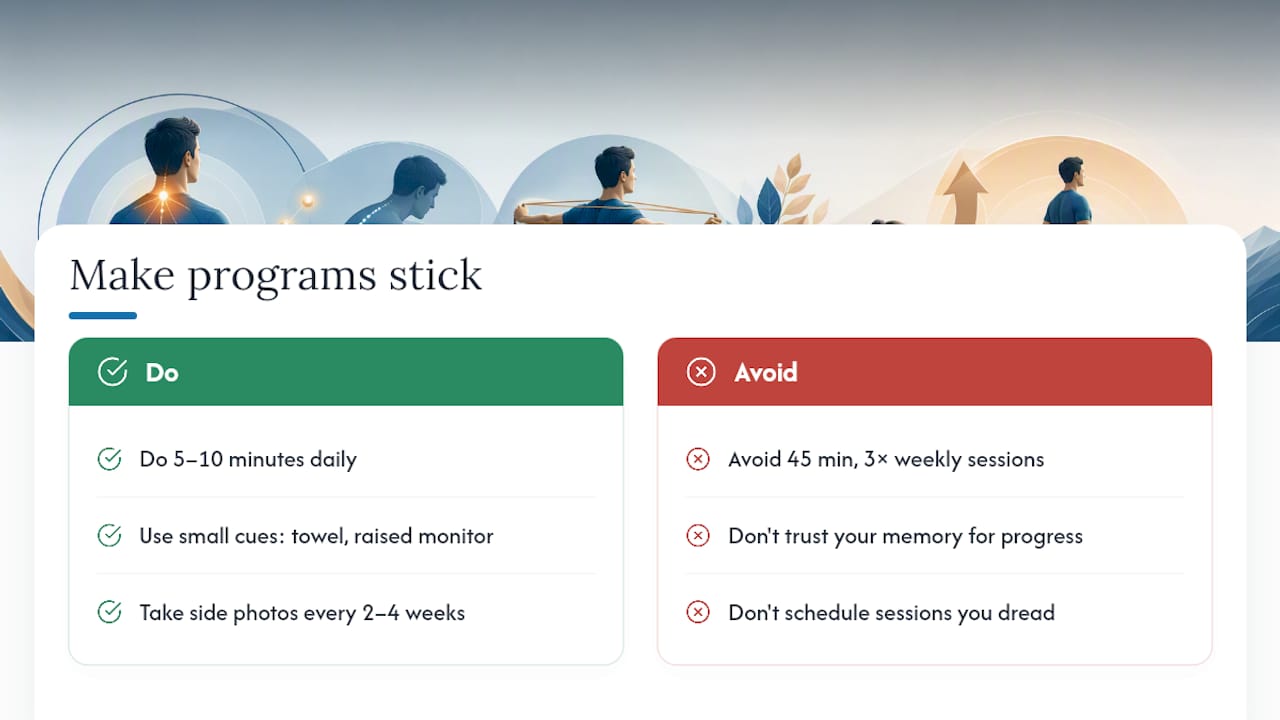
Most people don’t fail at upper cross syndrome exercises because the exercises are wrong. They fail because 45 minutes three times a week is a plan built to be skipped. Five to ten minutes daily beats a long session you dread and eventually ditch.
Small environmental cues, a rolled towel behind your neck at night, your monitor raised to eye level, do more to protect your gains than any single exercise. Take a photo from the side every 2 to 4 weeks. Progress in posture work is slow enough that you won’t trust your own memory of where you started.
— Cadence
Tools That Support Your Home Corrective Routine
A resistance band, a massage tool, and a posture brace won’t fix upper cross syndrome on their own, but they remove the friction that makes people quit their routine in week two. Evergreenbliss’s home fitness recovery equipment covers the band anchors and stability tools this whole routine relies on, without a trip to a specialty store.

Use a posture brace for short-term cueing, a reminder to pull your shoulders back at your desk, not as a substitute for the rows and chin tucks doing the real strengthening work. A neck posture brace works well for this if you want a physical nudge during long work stretches. For the inhibit phase, a handheld massage tool loosens tight upper traps before you stretch, similar to the manual release techniques massage therapists use for neck and shoulder tension. Use it gently and stop if soreness increases rather than eases. Browse the full personal care and recovery collection to build out a kit that matches your routine, and start with one or two tools rather than a shopping cart full of gadgets.
This article is general information, not a substitute for advice from a qualified doctor. Consult a qualified healthcare professional about your own circumstances before acting on anything here.
Sources
- Treatment of Upper Crossed Syndrome: A Narrative Systematic Review
- A guide to NASM’s corrective exercise continuum
- Is it too late to save your posture?